Development of the Putnam/CSX Slalom C1
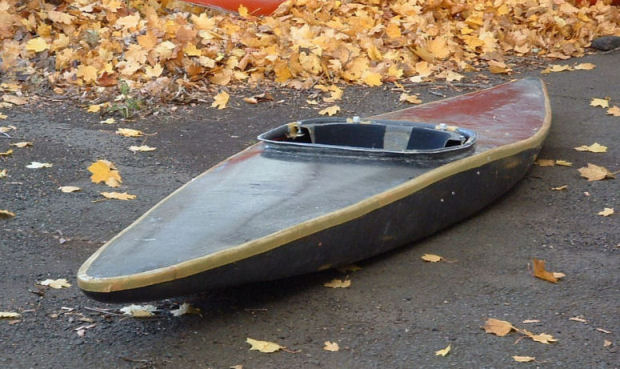
My original Stinger was a development of a 1991 Estanguet. The hull was unique at the time, having a front tri-hull transitioning into a relatively flat bottom with rails. I narrowed the boat a bit and flattened the exaggerated center bulge in the bow. The boat was very fast in a straight line, not so good at turning. Great for C/D races though. I used the hull shape to create an open boat called the Cobra. (The link shows you the hull shape that it shares with the Stinger. After 13 years, my original hull was feeling its age. I had already shortened and flattened the stern (and removed the wings) to make it closer to the 3.5M specs, but it was time for a new boat.

I cut the original Stinger molds (hull and deck) down the centerline from both ends, leaving only a couple of inches at mid-length for stability. Then I cut a wedge out of the stern so that I could spread the bow out as shown.
After bracing the pieces, I glassed the outside to maintain the shape, then filled in the gaps.
I also filled in the original wing pockets.
I re-shaped and shortened the stern somewhat, but it ended up close to the same volume as my modified Stinger as described above.
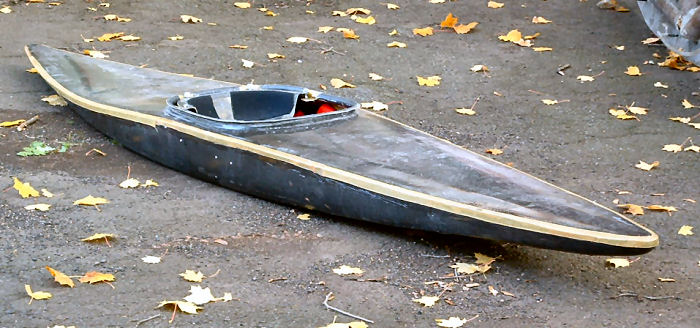
Then I laid up and joined the two halves for my prototype. It paddled well, but wasn't as big a change as I desired, so I decided to make some major changes from a new plug.
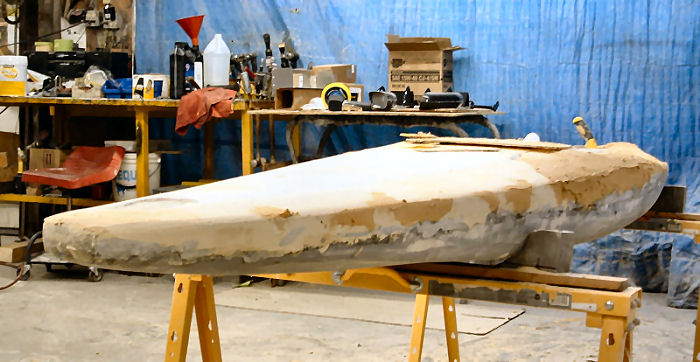
I took a quicky mold from the prototype, trimmed the raw pieces that came from the mold, and ended up with this. Much less stern volume than the old boat, and wider in the bow. I didn't like a couple of things though: The bow seam line was too low, and I wanted to make more room around the cockpit. Hard to see, but the bow is about 1/4" deeper compared to the prototype. | 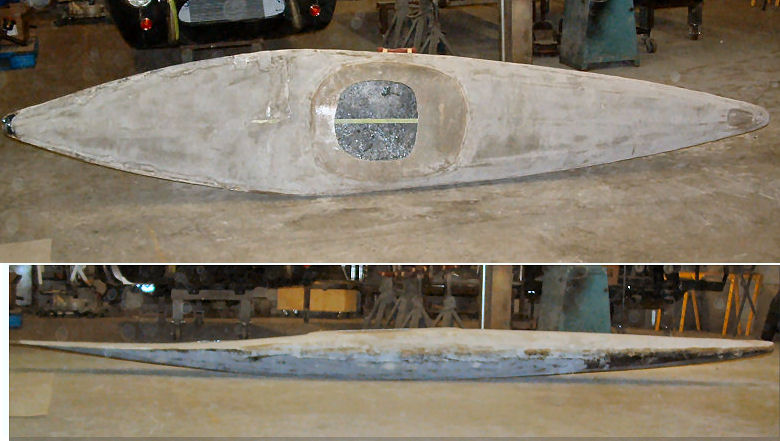 Preliminary Bond |
So far I've added 2 gallons of body filler along the bevelled top sides of the bow, and lots of filler around the cockit area. Now there's plenty of room for big feet. The relatively sharp edge at the top of the front "seam line" will be mellowed out eventurally, but for now it's a good way to see the shape.
I was also able taper the stern more gracefully than the preliminary bonding.
Fortunately, the hull won't need nearly as much work as the deck! Just some fairing into the seam line.
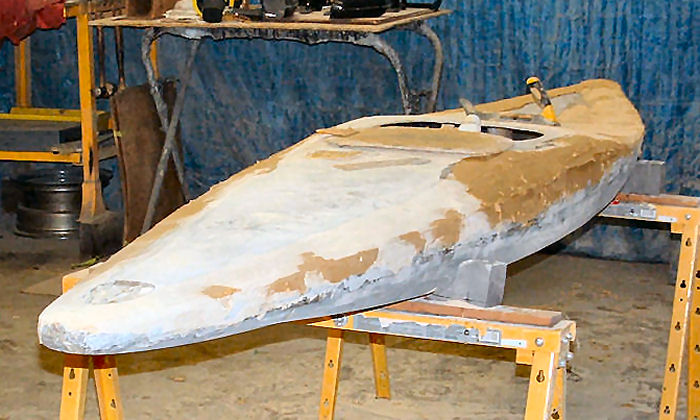
After another gallon of Bondo and 6 hours of sanding, I shot some temporary primer to see the shape better.
The front deck is almost finished except for the top-side corner radius. I'll finish that off by hand. (So far, I've used a power board to do all the shaping.)
The rough areas between the deck and the hull will be blended inf when I turn the boat over to work on the hull.
Working on the rear deck:
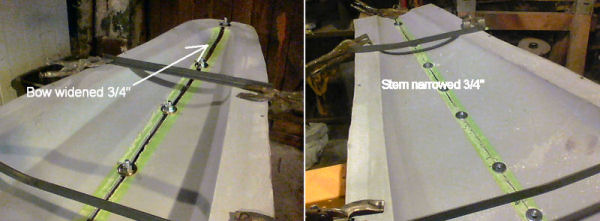
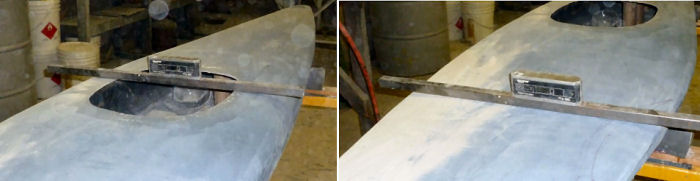
The left shot shows a level placed across the boat in a place that I've determined to be almost perfectly parallel to the hull.
At the right: Checking the level-ness of places on the rear deck. The bottom line: Using this method, I'll be able to keep the deck parallel to the hull well within 1/4 deg..
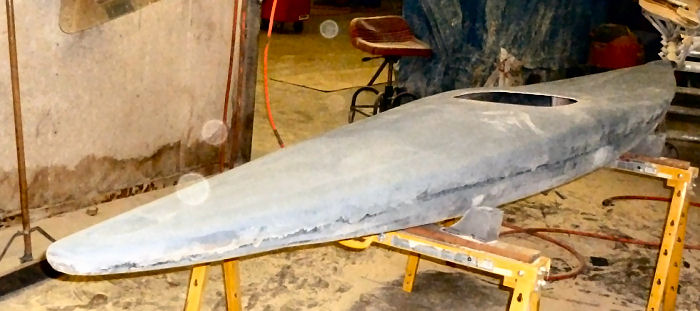
Another (more progress) side view

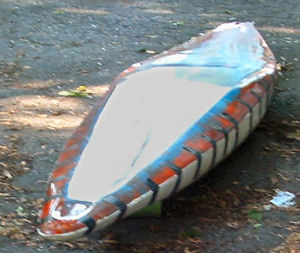
The Final Design!
8.5 kg in Carbon
Flatwater Video